Practical oven-care advice

Common Oven Cleaning Mistakes and How to Avoid Them

Too much water, unsuitable products and aggressive scrubbing can turn a straightforward oven clean into an expensive problem. This guide explains the mistakes to avoid and the safer approach to light maintenance.

Oven designs and surface finishes vary, so always allow the appliance to cool completely and check its manufacturer instructions before cleaning unfamiliar parts.

Cleaning can remove grease and food residue, but it cannot repair electrical, gas or mechanical faults. Stop using the appliance and seek qualified help if you suspect a fault.
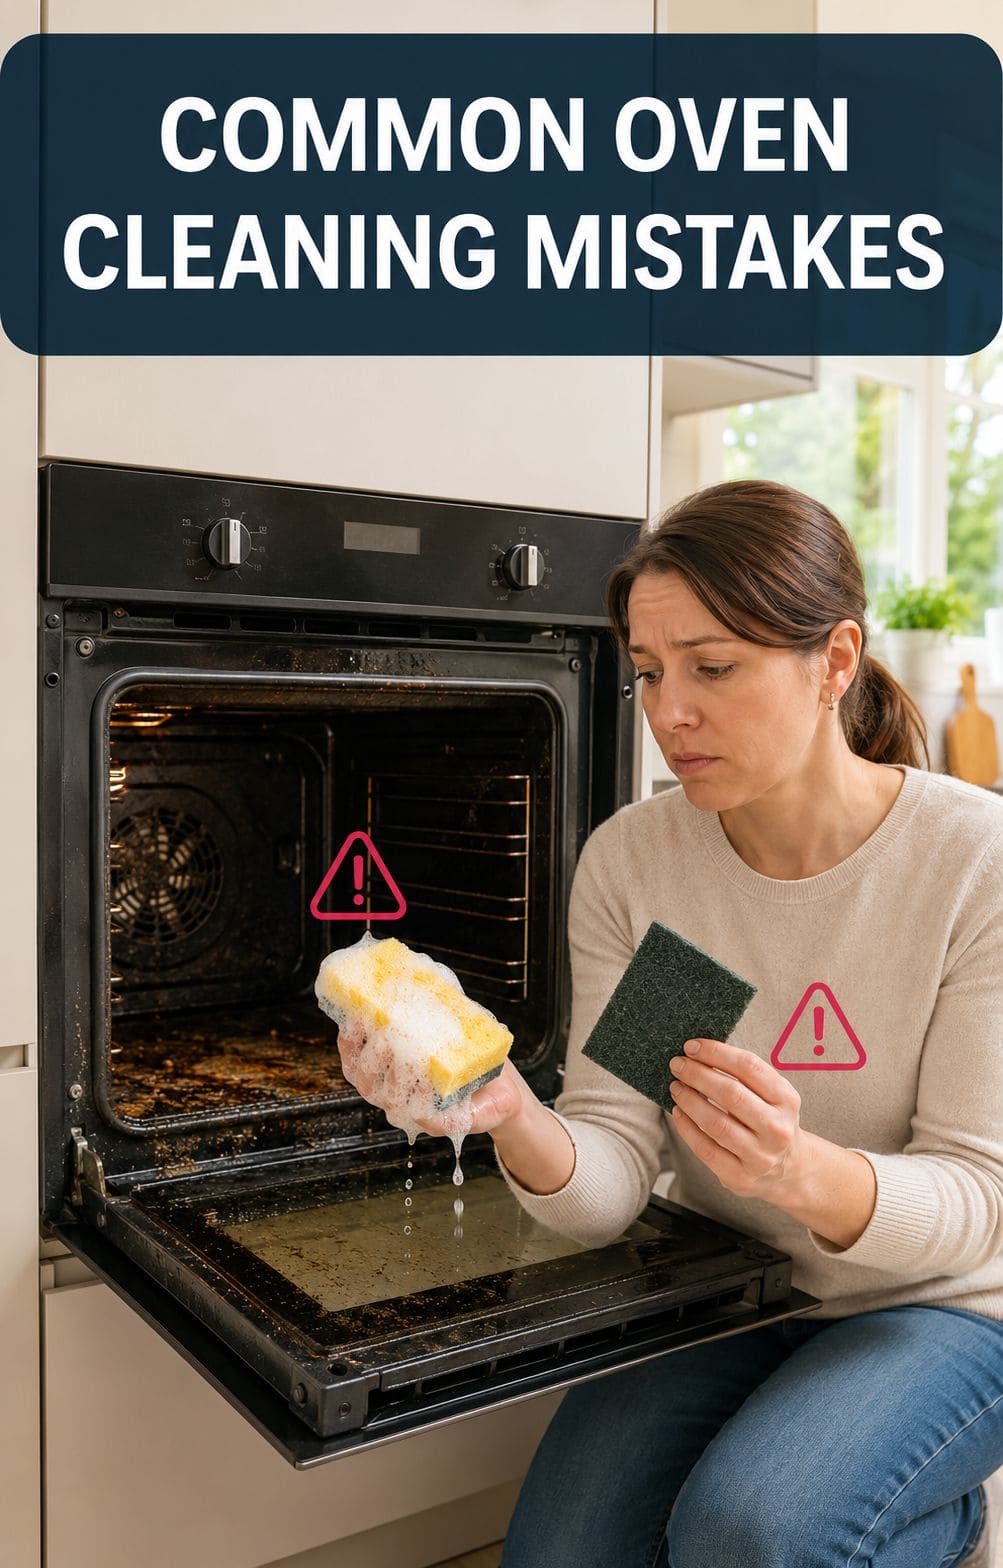
Homeowner comparing unsuitable cleaning tools beside a greasy oven
15+ Years of practical oven-cleaning experience
Mistakes worth avoiding

Six Common Oven-Cleaning Mistakes

Oven interiors contain different finishes, seals, vents and electrical components. A method that appears harmless can cause staining, scratching or unnecessary moisture problems when used in the wrong place.

Avoid

Using Too Much Water

Pouring water or using a heavily soaked sponge can allow moisture to reach vents, gaps, heating elements or electrical areas. More water does not automatically produce a better clean.

Avoid

Spraying Cleaner Directly Inside

Spraying liquid broadly into the oven makes it difficult to control where the product travels. It may enter vents, fan openings, controls or other areas not intended for direct application.

Avoid

Scrubbing With Abrasive Tools

Wire pads, rough scourers and unsuitable scrapers can mark glass, enamel and coated surfaces. Once a finish is scratched, cleaning cannot restore the original surface.

Avoid

Using an Unsuitable Product

A cleaner may be suitable for one surface but inappropriate for another. Strong or incompatible products can affect coatings, catalytic liners, aluminium parts, seals and decorative finishes.

Avoid

Cleaning Before the Oven Is Cool

Cleaning a warm or recently used oven can expose you to hot metal and may cause products to dry too quickly. Switch it off and allow every accessible surface to cool completely first.

Avoid

Dismantling Unfamiliar Parts

Removing a door, glass panel, fan cover or heating component without the correct instructions can lead to broken fixings, incorrect reassembly or damage to the appliance.

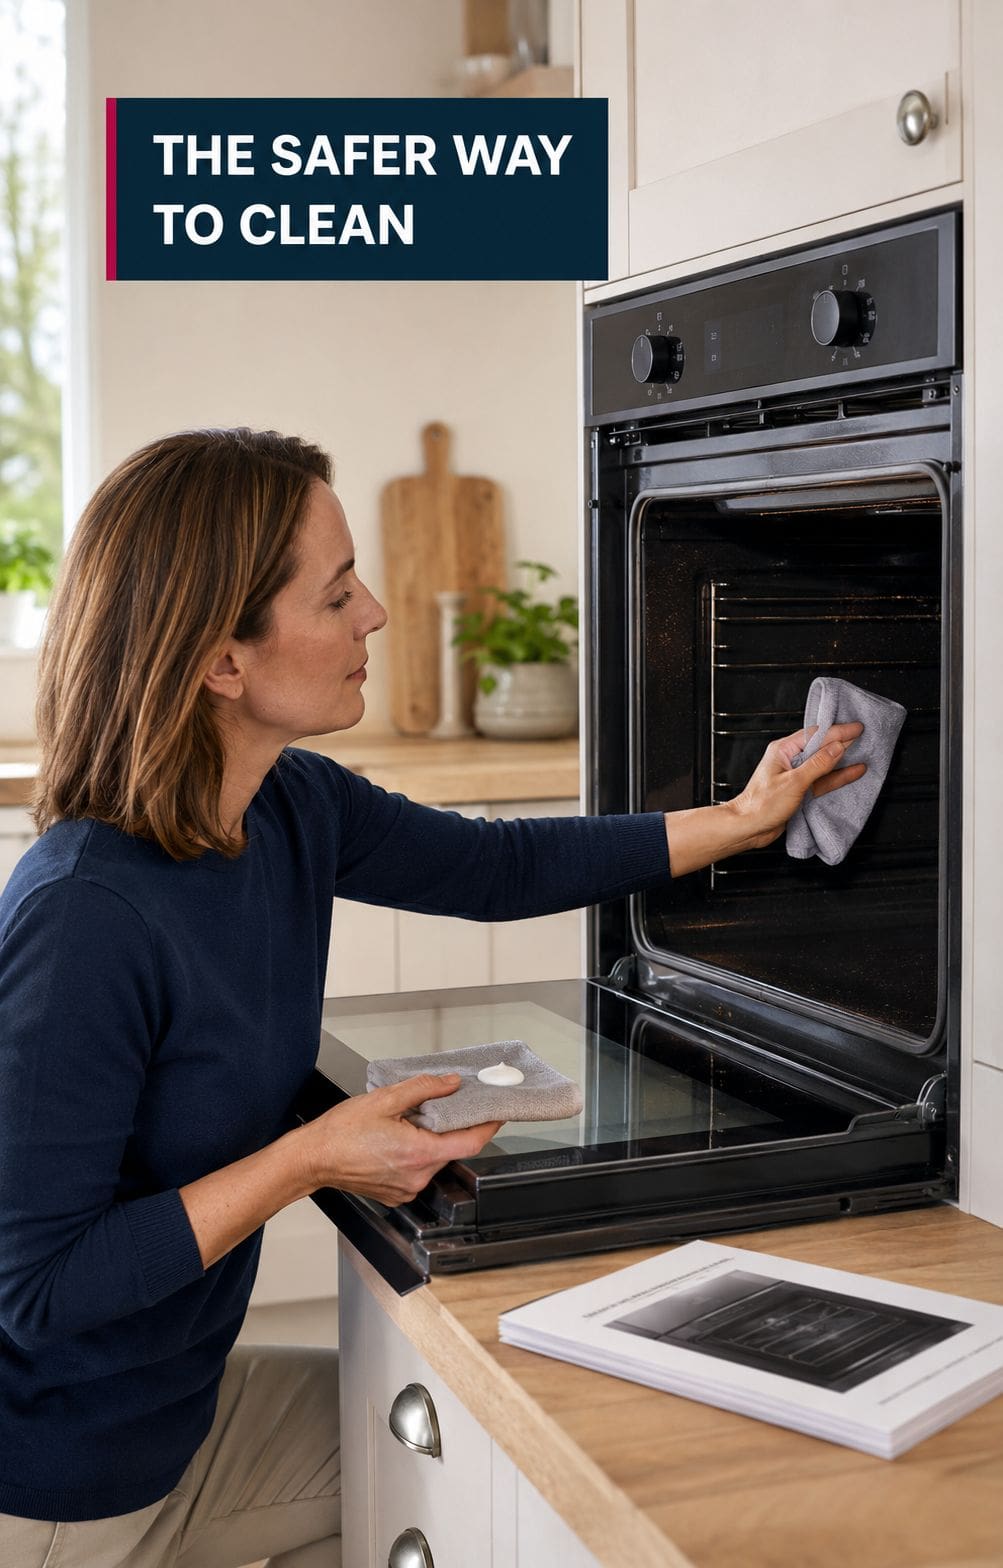
Homeowner carefully wiping a cooled oven with a soft cloth
Controlled cleaning starts with a cool appliance, a soft cloth and the correct manufacturer guidance.
What to do instead

A Safer Approach to Light Oven Cleaning

Routine maintenance should be controlled and limited to surfaces that can be reached safely. The aim is to remove fresh spills without flooding, scratching or dismantling the appliance.

  1. Switch Off and Allow It to Cool

    Wait until the oven and every accessible component are completely cool before beginning any cleaning.

  2. Check the Appliance Instructions

    Confirm which products, surfaces and removable parts are covered by the manufacturer’s cleaning guidance.

  3. Apply Cleaner to the Cloth

    Use a small, controlled amount of a suitable product on a soft cloth instead of spraying liquid broadly into the oven.

  4. Wipe Accessible Surfaces Gently

    Concentrate on fresh food splashes and light grease without forcing tools behind seals, vents, elements or fixed panels.

  5. Stop if the Build-Up Will Not Move

    Do not increase the pressure or move to aggressive tools. Heavy carbon and inaccessible grease usually need a different cleaning approach.

Know when to stop

When Professional Oven Cleaning Makes More Sense

Light maintenance is useful for fresh spills and accessible surfaces. When grease is heavily burnt on, parts are difficult to reach or the job requires unfamiliar dismantling, professional cleaning may be the more practical option.

Consider professional help when:

  • Thick carbon remains after suitable light cleaning.
  • Grease has collected around the fan area, back plate or oven roof.
  • Marks are trapped between suitable door-glass panels.
  • Racks, trays and removable components have heavy burnt-on deposits.
  • Bending, reaching or handling oven parts is difficult for you.
  • You are unsure how parts should be removed and reassembled.
Professional cleaning explained

A structured process for deeper build-up

A professional appointment can cover the accessible oven interior, door, glass and suitable removable parts. Components such as racks and trays can be cleaned separately before everything is carefully refitted and visually checked.

View our seven-step oven-cleaning process

Common Questions

Short answers about avoiding damage during oven cleaning.

Can I use a metal scourer inside my oven?

Only use tools approved for the particular surface in your appliance instructions. Metal and abrasive scourers can scratch enamel, glass and protective finishes.

Should I spray oven cleaner directly inside?

Broad spraying makes it difficult to control where liquid travels. Follow the product and appliance instructions and avoid vents, elements, fan openings and electrical areas.

Can cleaning remove every mark?

No. Cleaning cannot reverse scratched enamel, corrosion, permanent discolouration, damaged seals or general wear. The final result depends on the oven’s condition.

Scroll to Top